이전글
https://greed-yb.tistory.com/303
[SpringBoot] React + TypeScript + JPA 프로젝트 (1) - 생성
Java 17GradleSprinb Boot 3.3.4Spring Security 6.3.3Oracle 11gIntelliJ UltimateDBeaverReactJPASpringBoot 프로젝트 생성 프로젝트 생성이 끝나면 properties 파일이 생성된다 server.port= 7172# Databasespring.datasource.driver-class-n
greed-yb.tistory.com
Bootstrap 고르기
https://bootstrapmade.com/nice-admin-bootstrap-admin-html-template/
Nice Admin - Free bootstrap admin HTML template | BootstrapMade
NiceAdmin is a powerful admin and dashboard template based latest version of Bootstrap framework. It provides a clean and intuitive design that is focused on user experience. The custom plugins included has been carefully customized to fit with the overall
bootstrapmade.com
위의 Bootstrap 을 적용하려고 한다
Spring Security 를 아직 적용하지 않았기 때문에
기본 로그인 폼에서 로그인을 하게 되면 아래 페이지로 이동되어야 한다

Bootstrap 적용하기
적용 방법은 이전글 에서도 다뤄보았으니 참고하길 바란다
https://greed-yb.tistory.com/301
[SpringBoot] Intellij + React + Bootstrap + Router 적용하기
이전글https://greed-yb.tistory.com/300 [SpringBoot] Intellij + React 생성 및 한번에 빌드하기node.js 설치하기https://nodejs.org/ Node.js — Run JavaScript EverywhereNode.js® is a JavaScript runtime built on Chrome's V8 JavaScript engine
greed-yb.tistory.com
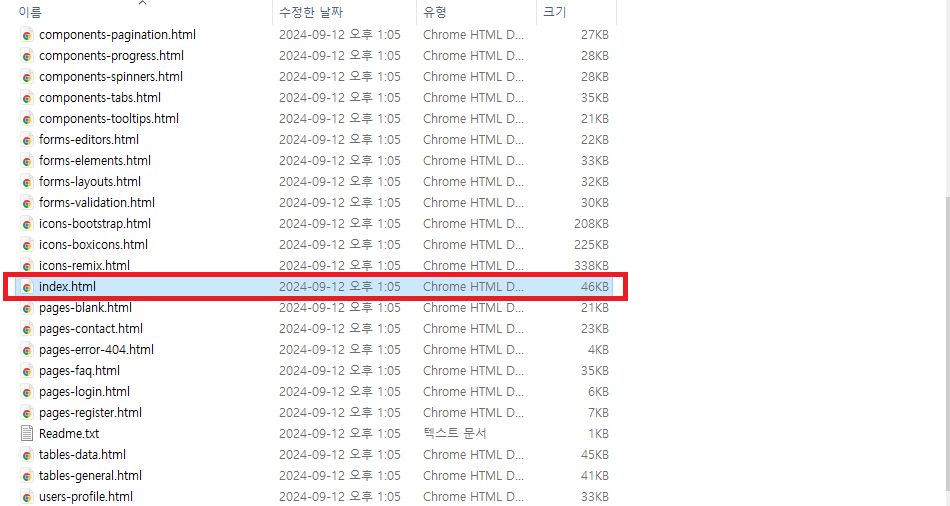
기본 페이지 index.html 을 메모장 또는 파일로 열어준다
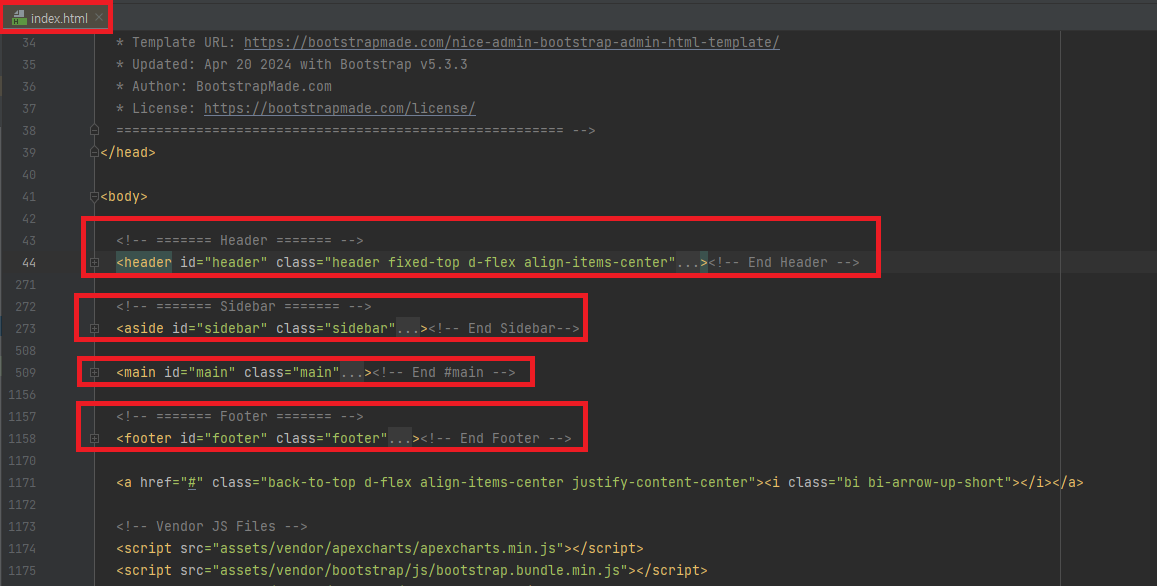
header, sidebar, main, footer 가 있는 것을 확인할 수 있다
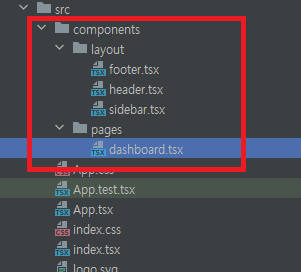
Bootstrap 구조에 맞춰서 폴더 및 파일을 만든다
메인 페이지를 Dashboard 로 할 생각이어서 Dashboard 하였다
(마우스 우클릭 파일 생성 또는 App.tsx 를 복사하여 이름만 바꿔주면 된다)
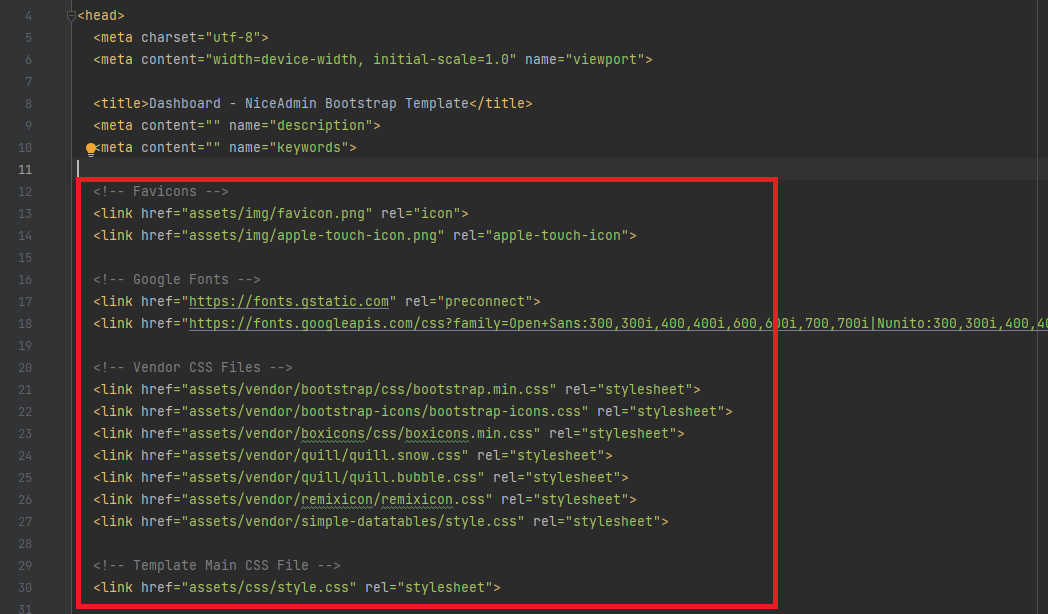
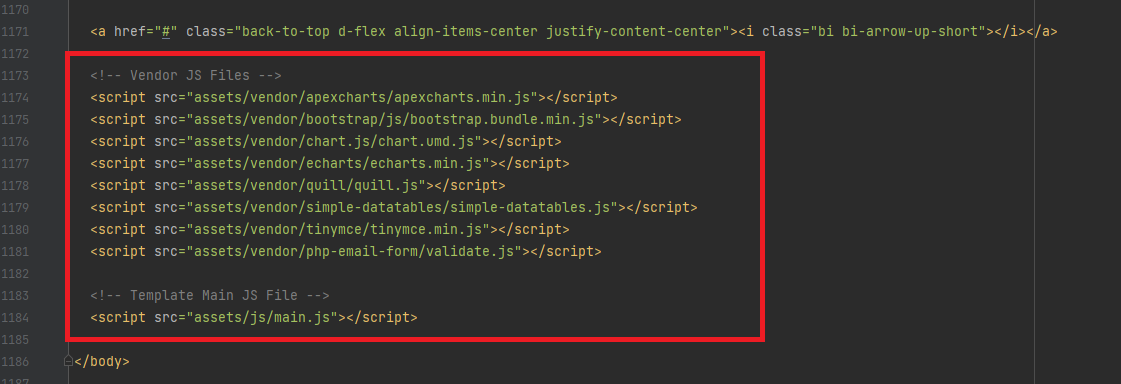
Bootstrap 의 index.html 파일에서 css 와 js 부분을 복사하여
public/index.html 에 넣는다
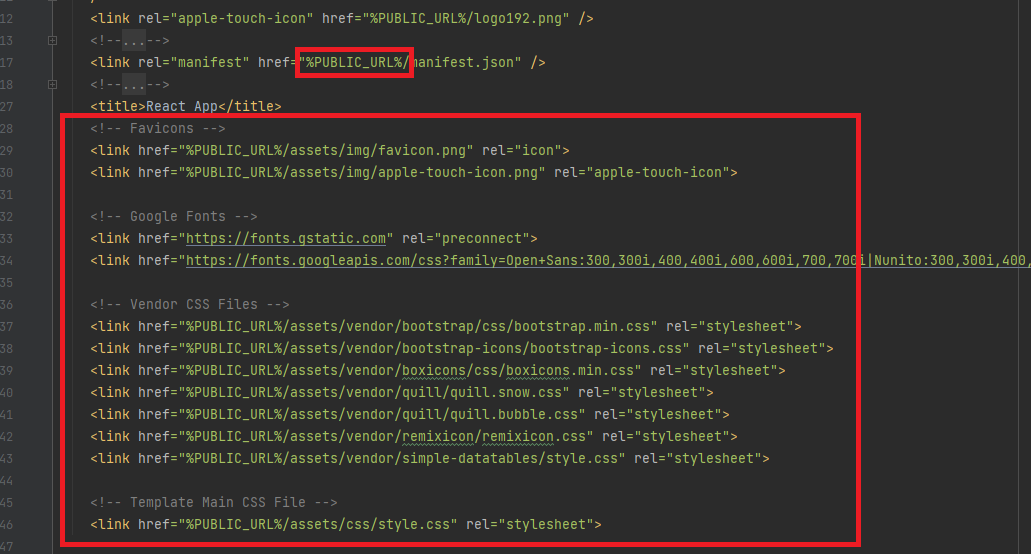
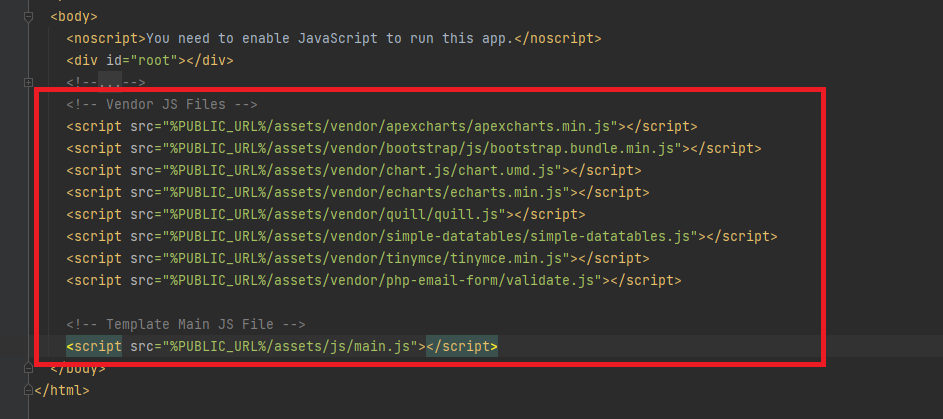
파일 경로를 참조 하는 태그는 %PUBLIC_URL% 을 잊지 말고 넣어주자!
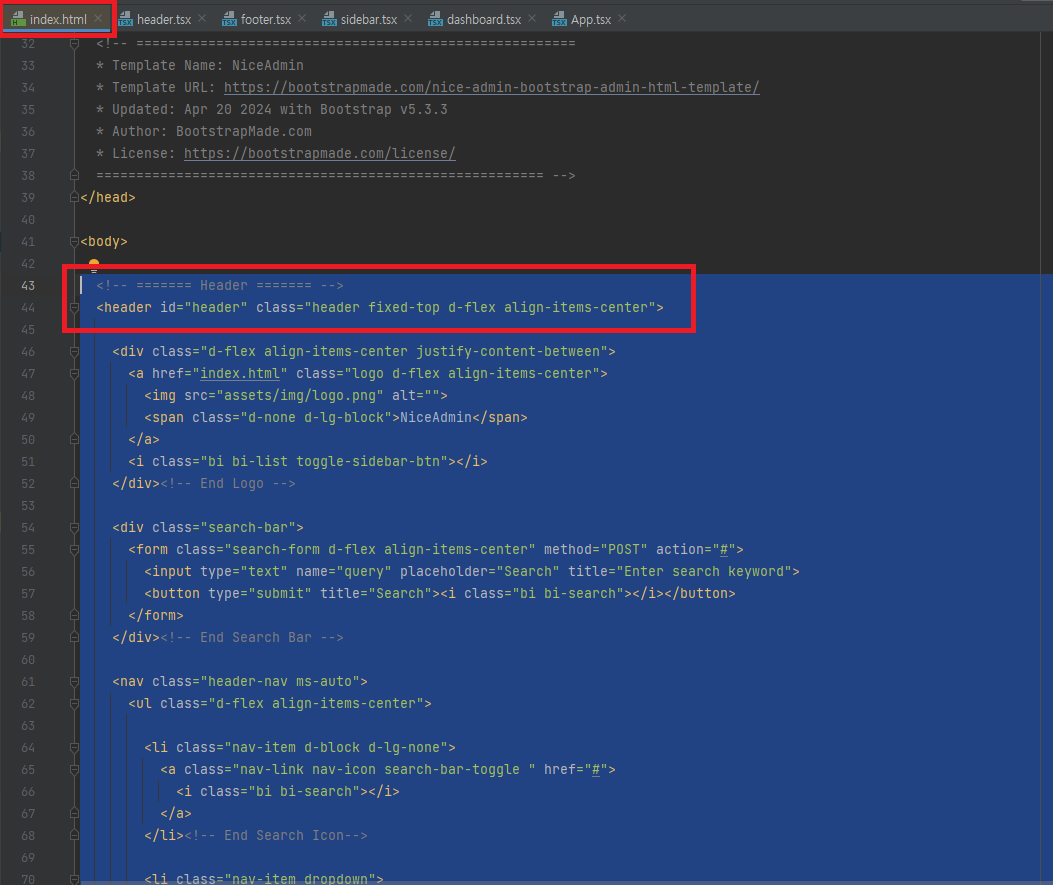
header 태그를 복사해서 header.tsx 에 붙여 넣는다
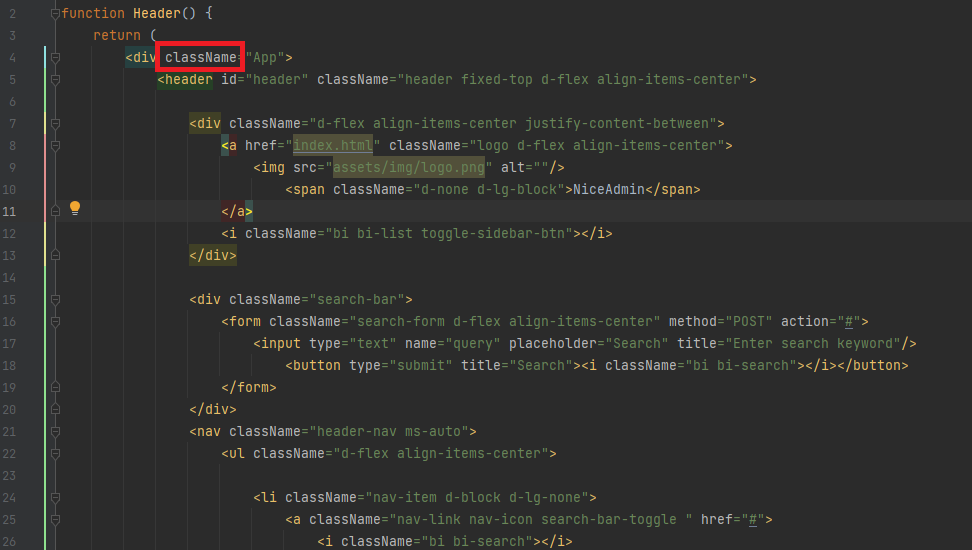
* 수정 사항
- React 에서 태그의 class 는 className 으로 변경해야 한다
- React 에서는 <!-- --> 주석이 에러가 나기 때문에 제거하거나 주석 처리 방법을 변경하길 바란다
- 예) style="min-height: '400px';" -> style={{minHeight: '400px'}} 스타일 형식이 다르다
- Router 사용을 위한 <a> 는 <Link> 태그로 변경해야 한다 href -> to 로 변경한다
- 닫혀있지 않은 태그가 있다면 닫아야 한다
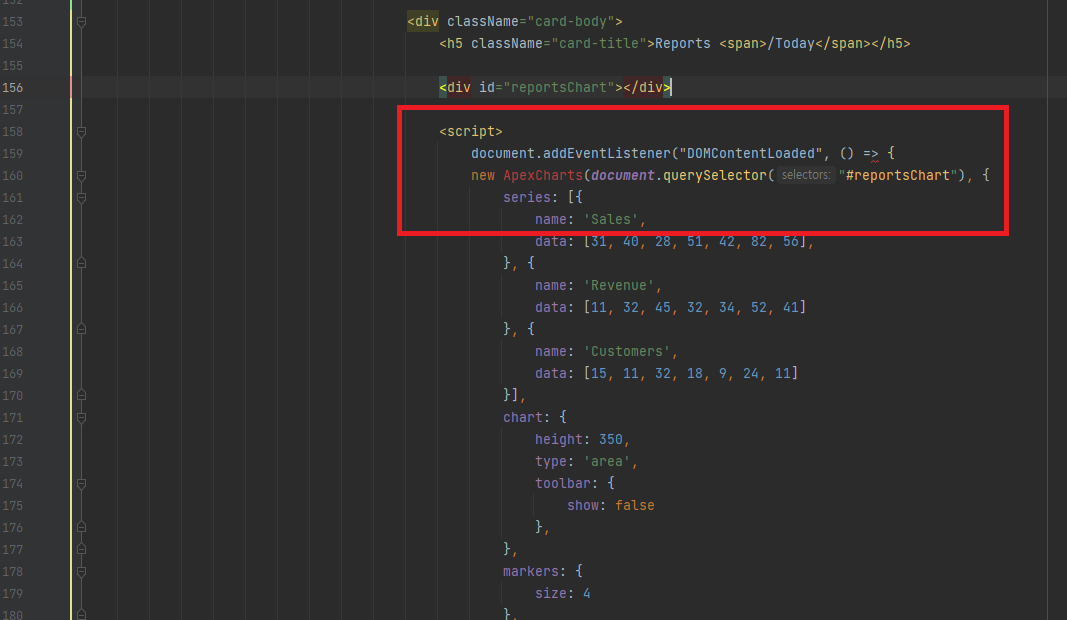
- addEventListener 가 있다면 React 에 맞게 변경해야 한다
- 아래 이미지 같이 필요한 경우 npm 으로 install 이 필요하다(npm install apexcharts)
- 등등
index.html 의 태그들을 동일하게 변경해 주면 되겠다
<header> -> header.tsx
<aside> -> sidebar.tsx
<main> -> dashboard.tsx
<footer> -> footer.tsx
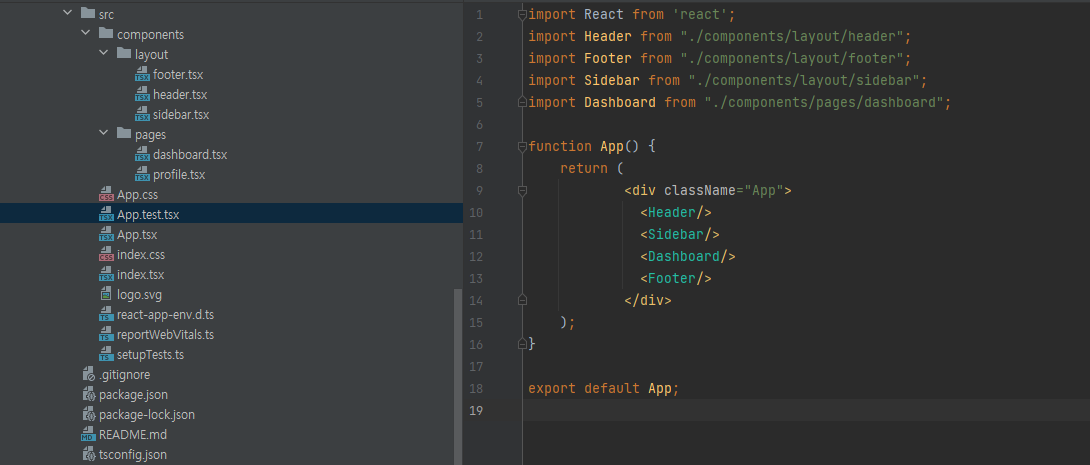
각각 생성한 화면들을 import 해준다
프로젝트를 시작해 보자
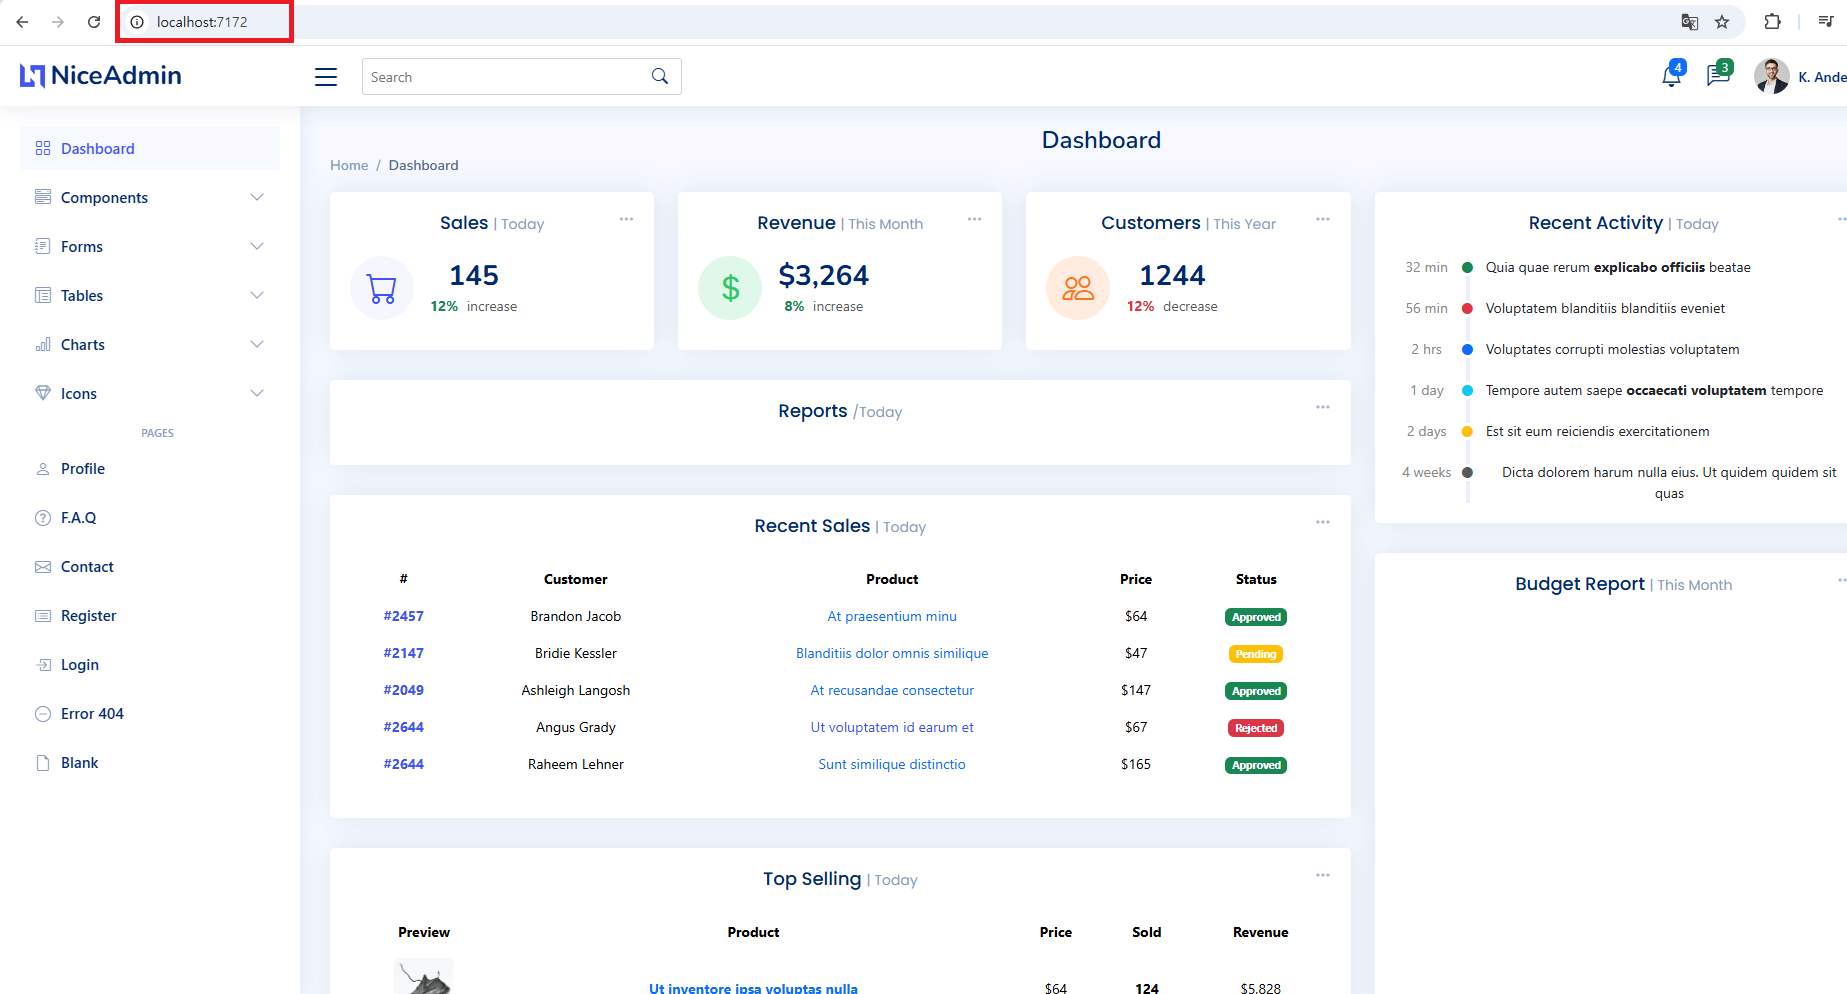
주석 처리한 chart 부분은 제외하고 정상적으로 적용되었다
(현재 React 와 Spring 을 따로 실행시키고 있기 때문에 port 는 3000 React 페이지가 나올 것이다)
( h1 태그의 Dashboard 가 중앙으로 온다 뭐지?! )
-> 캐시 문제로 비우고 실행하니 정상 동작한다
마지막으로 sidebar 에서 메뉴를 선택했을 때
화면 전환이 가능하도록 Router 를 설정해야 한다
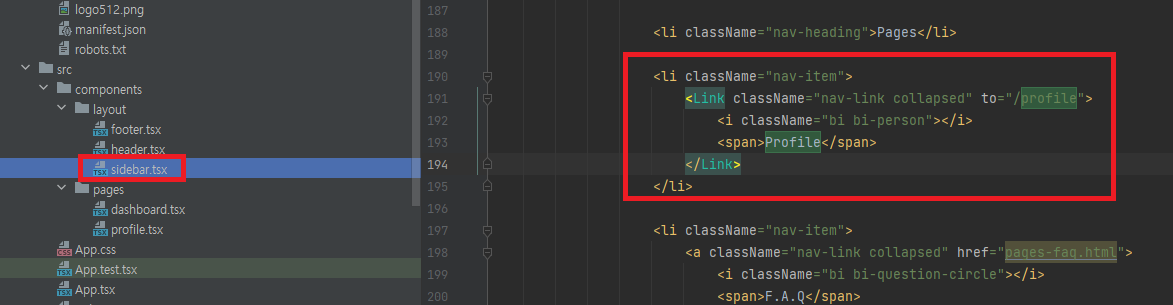
예시로 Profile 화면을 변경해 준다
<a> 태그를 <Link> 태그로 변경한다
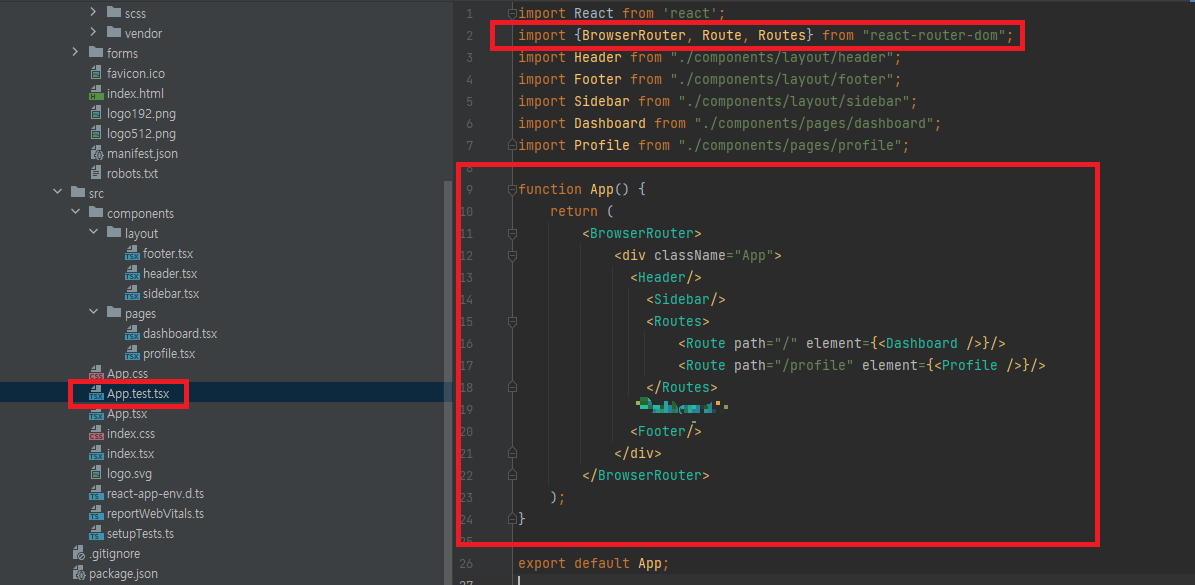
Router 를 이용하여 페이지 전환을 설정한다
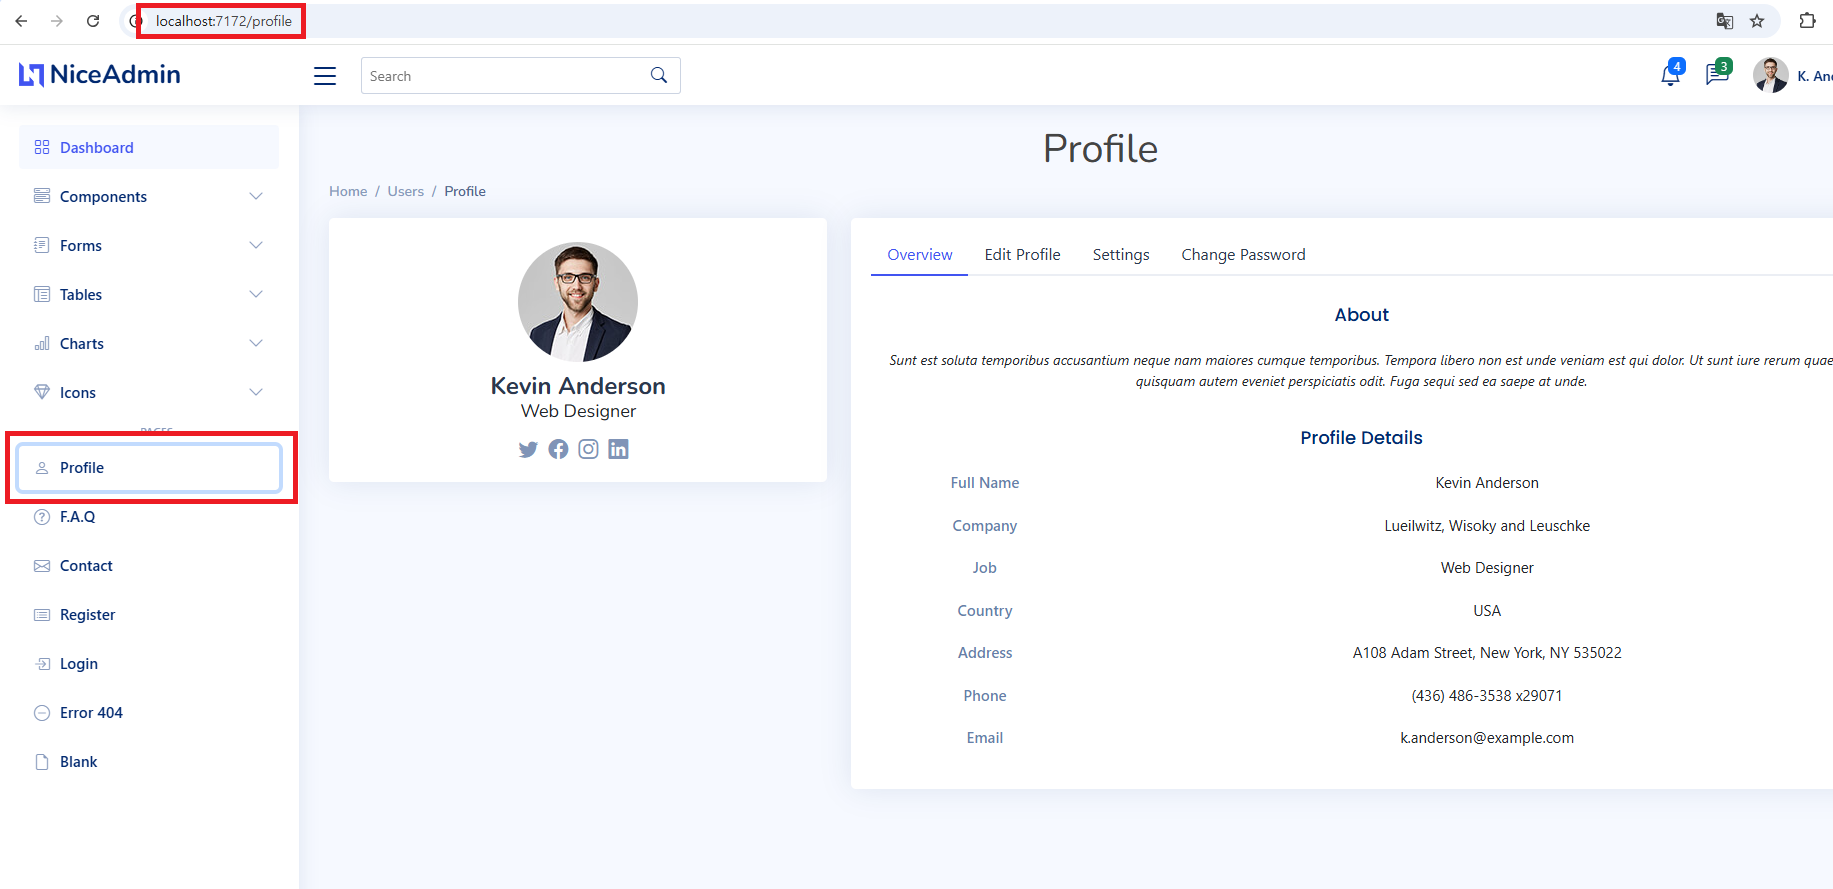
다시 프로젝트를 실행시키고 sidebar 에서 Profile 메뉴를 클릭해 본다
'개발 > Spring' 카테고리의 다른 글
| [SpringBoot] React + TypeScript + JPA 프로젝트 (4) - 회원가입, 로그인 하기 (1) | 2024.11.01 |
|---|---|
| [SpringBoot] React + TypeScript + JPA 프로젝트 (3) - SpringSecurity 적용 (0) | 2024.10.31 |
| [SpringBoot] React + TypeScript + JPA 프로젝트 (1) - 생성 (0) | 2024.10.24 |
| [SpringBoot] Intellij + React + TypeScript 프로젝트 생성하기 (0) | 2024.10.22 |
| [SpringBoot] Intellij + React + Bootstrap + Router 적용하기 (1) | 2024.10.21 |


댓글